A New partner in Coding, GitHub Copilot
- GitHub Copilot: Your Tireless Pair Programmer
Imagine having a pair programmer who never takes a break and can fluently work with multiple programming languages. That’s GitHub Copilot. Powered by a variety of large language models (LLMs), Copilot is the most widely adopted AI coding tool in industry. Today, we’ll walk you through everything you need to know to get started.
In this post, we’ll cover:
- Getting started with GitHub Copilot
- An overview of the different usage tiers, from free to enterprise
- A guide on how to use GitHub Copilot for the first time
Start coding smarter with Copilot!
🔍 What is GitHub Copilot?
GitHub Copilot is an AI pair programmer powered by generative AI and large language models (LLMs). It’s designed to boost your coding speed and maximize developer productivity. Acting as a powerful assistant, it supports you throughout the coding process—both in your code editor and on github.com.
GitHub Copilot goes beyond simple code completion, offering features like:
- Writing code from natural language prompts
- Understanding and explaining shell commands
- Describing pull request changes
- Debugging and refactoring code
- And many other developers support capabilities
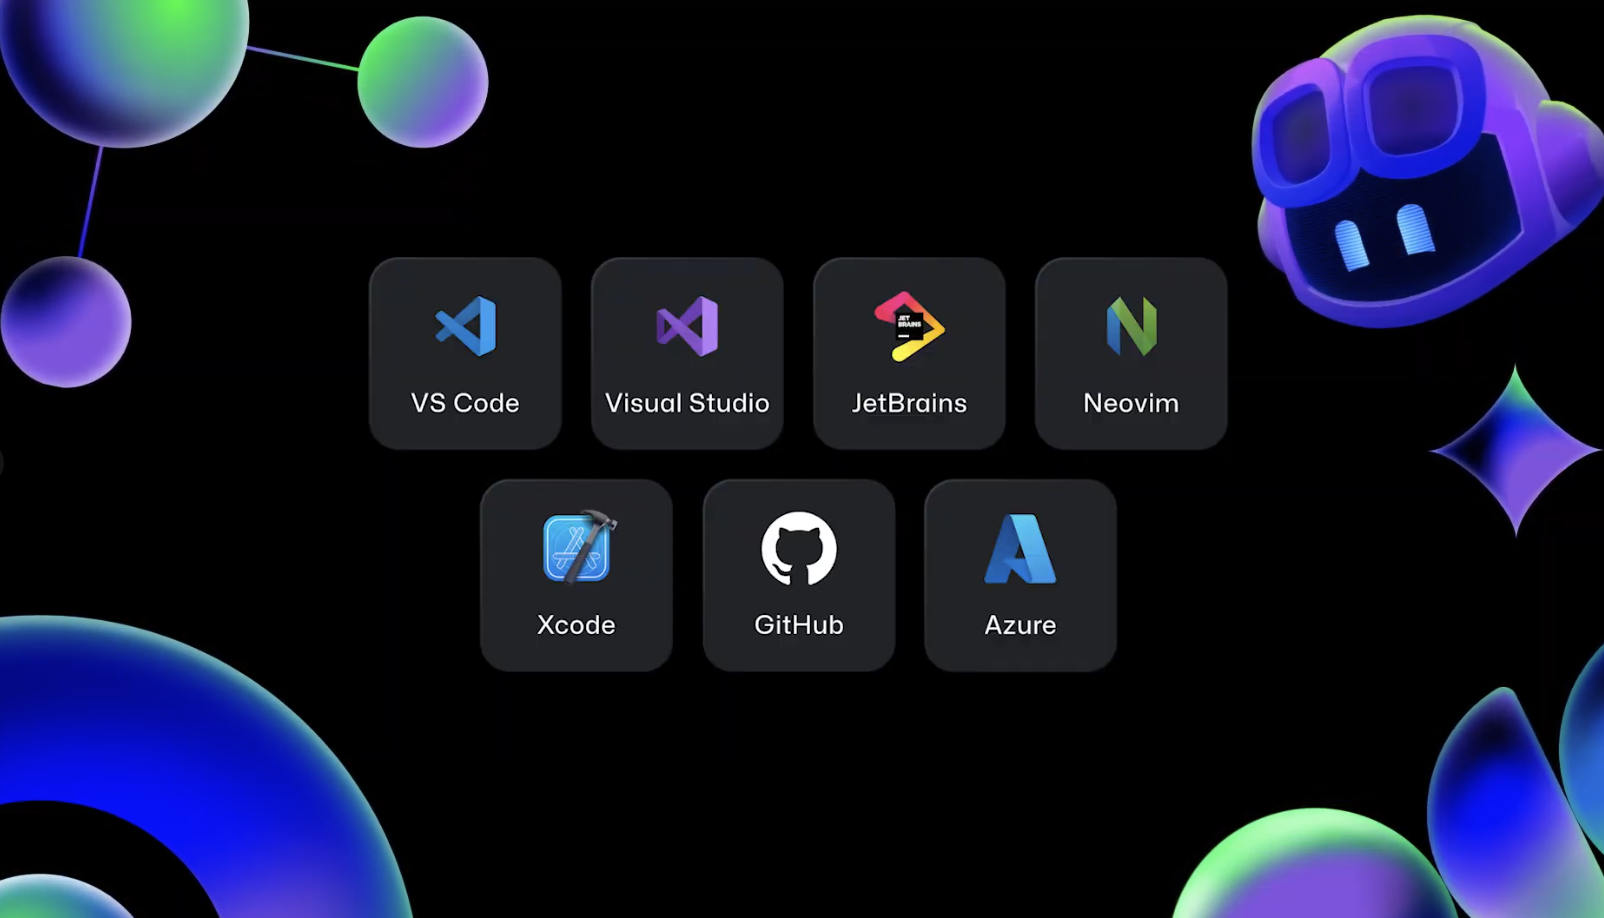
GitHub Copilot supports a wide range of programming languages and is available in various environments, including Azure, VS Code, Visual Studio, JetBrains IDEs, Neovim, Xcode, GitHub Mobile, the terminal, and github.com.
📋 GitHub Copilot Plans
To use GitHub Copilot, all you need is a GitHub account—and if you have a Copilot license, you can unlock even more powerful features beyond the free version.
Here are the available plans:
- For Individual Users
• GitHub Copilot Free (Free)
• Copilot Pro (Paid) - For Professionals and Organizations
• Copilot Business ($19 per user/month)
• Copilot Enterprise ($39 per user/month) - For Students and Educators
• Free access to Copilot Pro through GitHub Education - For Popular Open Source Project Maintainers
• Copilot Pro access (Free in GitHub Open Source Program)
Choose the plan that best fits your needs and experience the power of AI-assisted coding with GitHub Copilot!
📥 Installing GitHub Copilot in VS Code and JetBrains
GitHub Copilot supports multiple IDEs, but in this guide, we’ll walk you through installation in two of the most popular ones: VS Code and JetBrains.
- 📥 How to Install GitHub Copilot in VS Code
- Open the Extensions Marketplace and search for “GitHub Copilot.”
- Click on the extension published by GitHub, then hit Install.
• This will install two extensions: GitHub Copilot and GitHub Copilot Chat. - Once installation is complete, sign in to VS Code with your GitHub account that has access to GitHub Copilot.
• If you haven’t previously authorized VS Code in your GitHub account, you’ll be prompted to do so.
- 💡 Troubleshooting Tips During Installation
-
How to sign in to GitHub in VS Code
• Click on the “Accounts” menu in the Activity Bar, then select “Sign in to Sync Settings” to log in with your GitHub account. -
Granting Permissions in Your Browser
• Copilot requires specific permissions from your GitHub account.
• Simply click “Continue” in your browser when prompted to authorize access for VS Code. -
Confirming GitHub Copilot Installation
• Once setup is complete, you’ll see a Copilot icon next to the Command Center at the top and in the bottom bar of the editor.
• Clicking the icon in the bottom bar may prompt you to select your GitHub account, after which Copilot will display available options and change its status to “Ready.”
If you see the Copilot icons next to the Command Center and at the bottom of the VS Code window, you’re all set to start using GitHub Copilot in VS Code!
- 📥 How to Install GitHub Copilot in JetBrains IDE
In this guide, we’ll walk through how to install GitHub Copilot in JetBrains IDEs using PyCharm as an example.
- Open the Plugins Marketplace and search for “GitHub Copilot.”
- Click Install on the GitHub Copilot plugin, then restart your IDE.
- Once your project opens, you’ll see Copilot icons on the right panel and in the bottom status bar.
- Confirm that two icons have been added to the left panel:
• GitHub Copilot (question mark icon): Shows an overview and welcome message
• GitHub Copilot Chat (chat icon): Ask coding-related questions and get help
- 💡 Troubleshooting Tips During Installation
-
Log in with your GitHub account
• If your JetBrains IDE hasn’t been authorized with GitHub, you’ll need to sign in.
• Click the Copilot icon in the bottom bar and select “Login to GitHub.” -
Grant permissions in your browser
• Click “Copy and Open” in your browser to authorize GitHub Copilot.
• Paste the copied code with CMD + V (Mac) or CTRL + V (Windows), then click “Authorize GitHub Copilot plugin.”
• Return to your IDE, and you should see a message confirming successful installation.
- 🛠️ How to Enable GitHub Copilot Chat
- Click the chat icon in the left panel, then press the “Authorize” button.
- Select “Copy and Open,” paste the code in your browser.
- Click “Authorize GitHub Copilot for JetBrains IDEs.”
- Go back to your IDE—you’ll see a welcome message from GitHub Copilot Chat.
You’re now ready to start using GitHub Copilot in your JetBrains IDE! 🚀
🚀 Using Code Completion in GitHub Copilot
Now that GitHub Copilot is installed, let’s explore how to use its Code Completion feature. For this example, we’ll use Python in VS Code.
- ✅ How to Use Code Completion (Python Example)
Here’s a step-by-step guide to using code completion in GitHub Copilot:
- Create a new file:
• Name itvalidate_email.py - Import a module:
• Type import re and press Enter
• Copilot will recognize the filename and suggest code for email validation - Accept the suggestion:
• Press the Tab key to apply the suggestion. - Auto-complete a function:
• Press the Return key and Copilot will suggest a main function to run the code. - View additional suggestions:
• Hover over the suggested code to preview other options.
• Click the → or ← arrows to cycle through alternatives. - Open the Completions Panel:
• Click the three dots (…) at the end of the suggestion.
• Select “Open Completions Panel” to view even more code completions.
- 💡 Things to Keep in Mind
✅ Copilot suggestions appear as gray ghost text in your editor.
✅ Code completions are nondeterministic, meaning you might get different suggestions each time—even with the same input.
✅ Don’t worry if the suggestions aren’t what you expect! You can always review multiple options before pressing Tab to accept one.
👁️🗨️ How to Use GitHub Copilot Chat
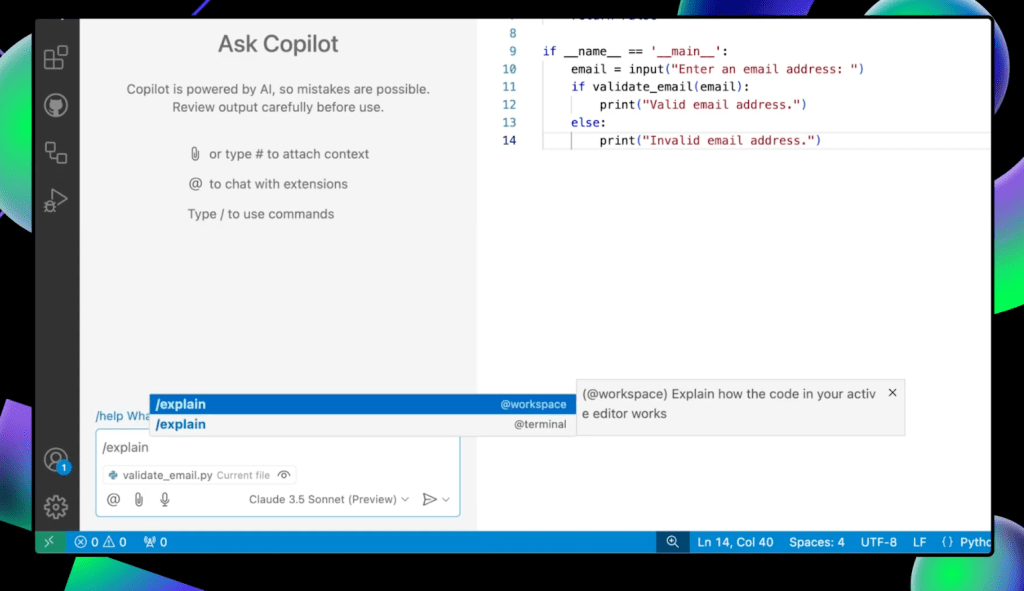
GitHub Copilot Chat helps you understand your code, suggest improvements, and solve problems more efficiently. Even if you’re seeing a codebase for the first time, it helps you get up to speed quickly.
- ✅ Requesting a Code Explanation
- Open the Copilot Chat window.
- Type
/explainin the input box and hit Enter. - Copilot will analyze the currently opened file and explain what the code does and how it works.
• Tip: The eye icon (👁) at the bottom of the Copilot Chat window shows that it’s aware of the open file.
- ✅ Requesting Code Improvements (e.g., Improving Email Validation)
- In the Copilot Chat window, type the following:
“Allow users to enter multiple email addresses for validation and improve the regex to be more robust.” - Copilot’s response includes:
• A plan describing the changes.
• An updated code block.
• A summary of what was changed and why. - Apply the changes:
• Hover over the code block
• Click the “Apply in Editor” button to apply the changes directly to your code.
🤔 GitHub Copilot vs. Other Copilots — What’s the Difference?
With the rise of various AI copilot solutions, it’s important to understand what sets GitHub Copilot apart—especially when it comes to programming.
- ✅ What Makes GitHub Copilot Unique
- Optimized for the Development Environment
• GitHub Copilot is purpose-built for developers.
• It works directly within your code editor (IDE) and on GitHub, so there’s no need to switch between a browser or another app—reducing context switching and keeping you in flow. - Acts as an AI Pair Programmer
• GitHub Copilot goes beyond basic code suggestions and acts as your AI pair programmer
• It supports tasks like real-time code completion, refactoring, code explanations, and even debugging—enabling faster and more effective collaboration. - Deep Integration with GitHub and IDEs
• Fully compatible with tools like VS Code, JetBrains IDEs, Neovim, Xcode, and more.
• It also runs on GitHub.com, supporting your full dev lifecycle—from pull requests to code reviews and documentation.
In short, GitHub Copilot stands out by being an AI tool designed to assist you exactly where you work, making it a powerful choice for developers compared to general-purpose copilots.
🔥 You’re Ready to Use GitHub Copilot!
Thanks for joining us for this deep dive into GitHub Copilot! 🎉
- 🎥 Watch the demo video – Check out our YouTube tutorial to see everything in action.
- 💬 Join the GitHub Community – Have questions? Post them in the GitHub Community thread!
- 🚀 Try GitHub Copilot for free – If you haven’t signed up yet, start your free trial today.
- Happy coding! 💻✨
If you need Consulting about Data & AI based on Cloud, Please contact Cloocus.
Related Posts

Cloocus Corp.
[United States] 500 7th Ave. Fl 8 New York, NY 10018 | Tel.+1 408.7722024 | E-mail.info_us@cloocus.com
[Malaysia] A-3A, Block A, Level 3A, Sunway PJ51A, Jalan SS9A/19, Seri Setia, 47300 Petaling Jaya. | Tel.+6016 331 5396 | E-mail.infoMY@cloocus.com
[Korea Headquarter] 6, Nonhyeon-ro 75-gil, Gangnam-gu, Seoul, Republic of Korea 06247 | Tel.02-597-3400 | E-mail.marketing@cloocus.com
[Korea Busan Campus] 55, Centum jungang-ro, Haeundae-gu, Busan, Republic of Korea | Tel.051-900-3400
Copyrights 2024 Cloocus co.,ltd. all rights reserved.


